How to Save Gas on ZeroSwapDEX?
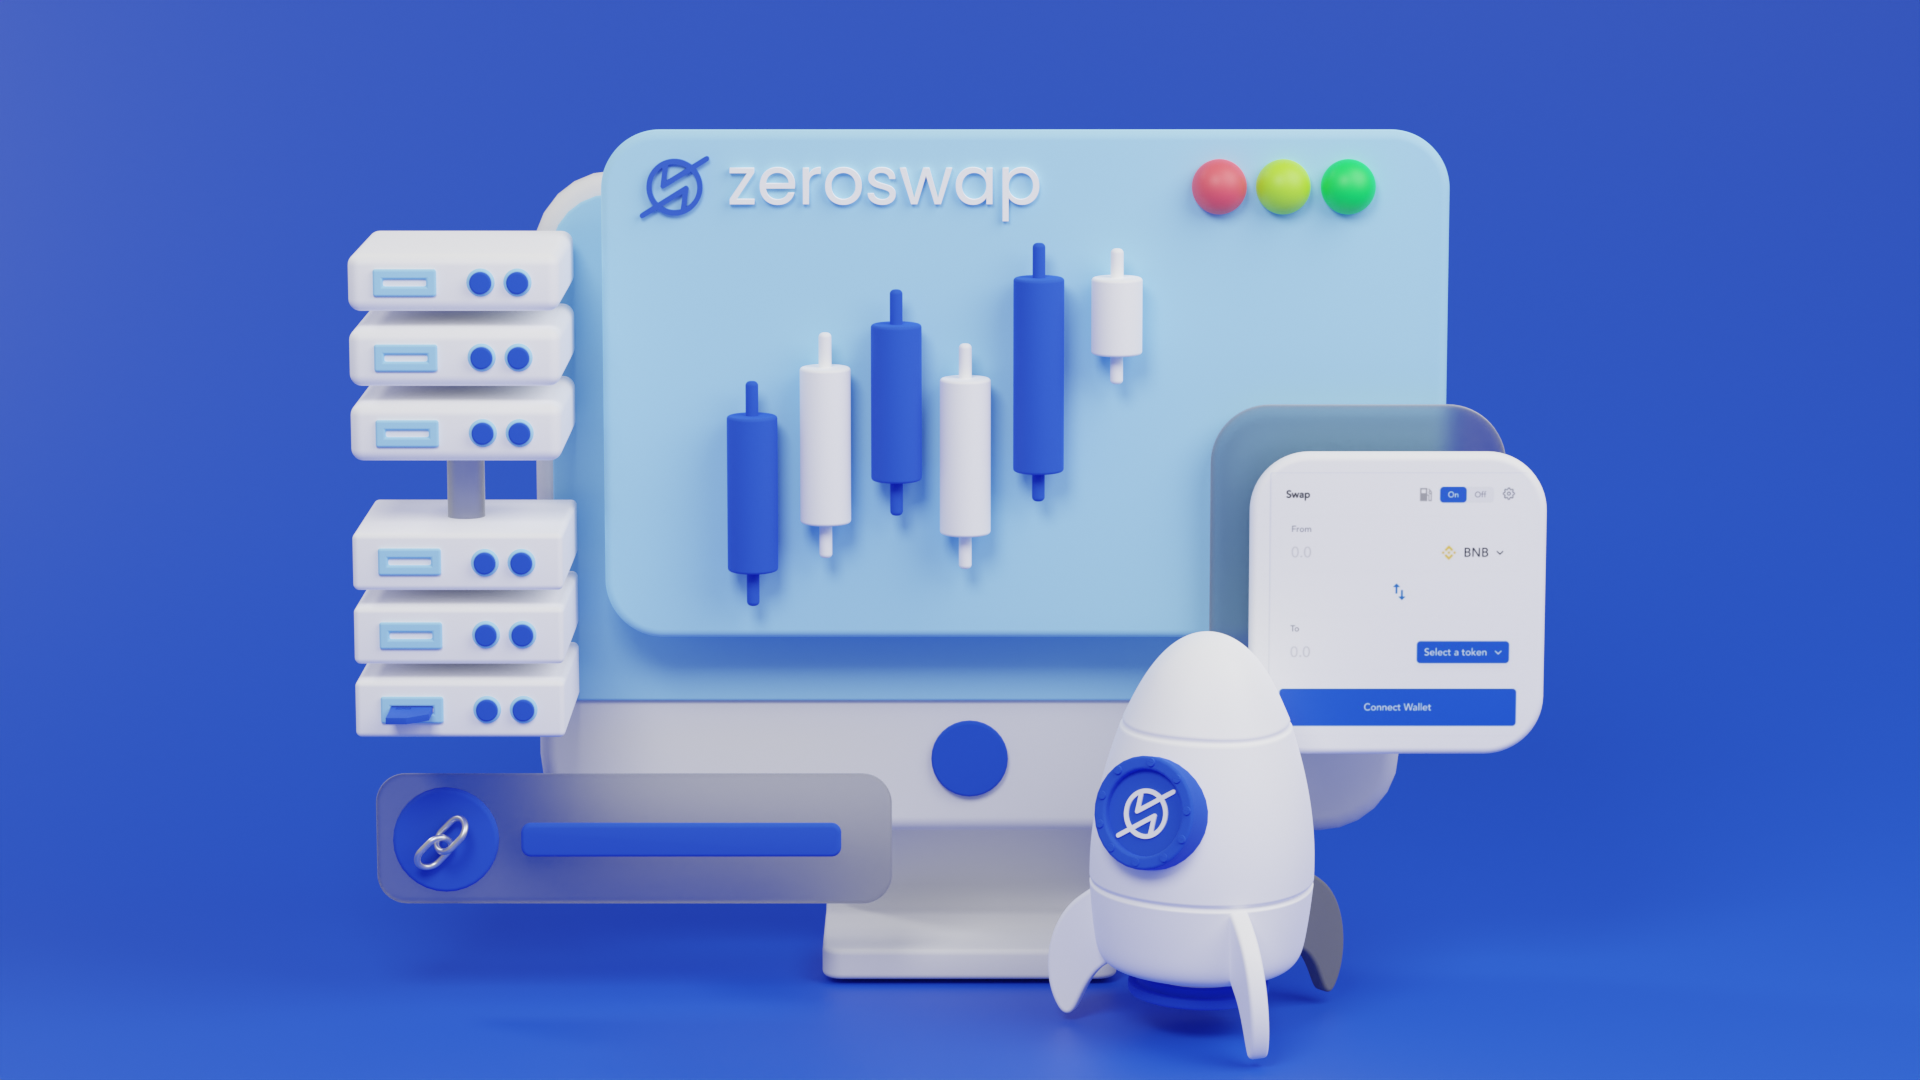
What is ZeroSwapDEX?
ZeroSwapDEX is a multichain liquidity aggregator that enables users to access on-chain swaps without paying gas and at zero fees. At its core, ZeroSwap aims to be the best interface for accessing on-chain liquidity in the cheapest way possible. Whether you agree, multichains are the future of blockchains, and we are building it one block at a time.
How to access Gasless swaps with Zero Fees?
There are three basic steps to be followed to enjoy gas-less swaps:
- Connect - Your Wallet
- Select - Token Pair
- Swap - Gas-less with No Fee
NOTE: There’s no staking requirement to access Gasless Swaps on any network
Steps to follow while using the DEX
Step 1: Open the ZeroSwap DEX. Always check the URL carefully.
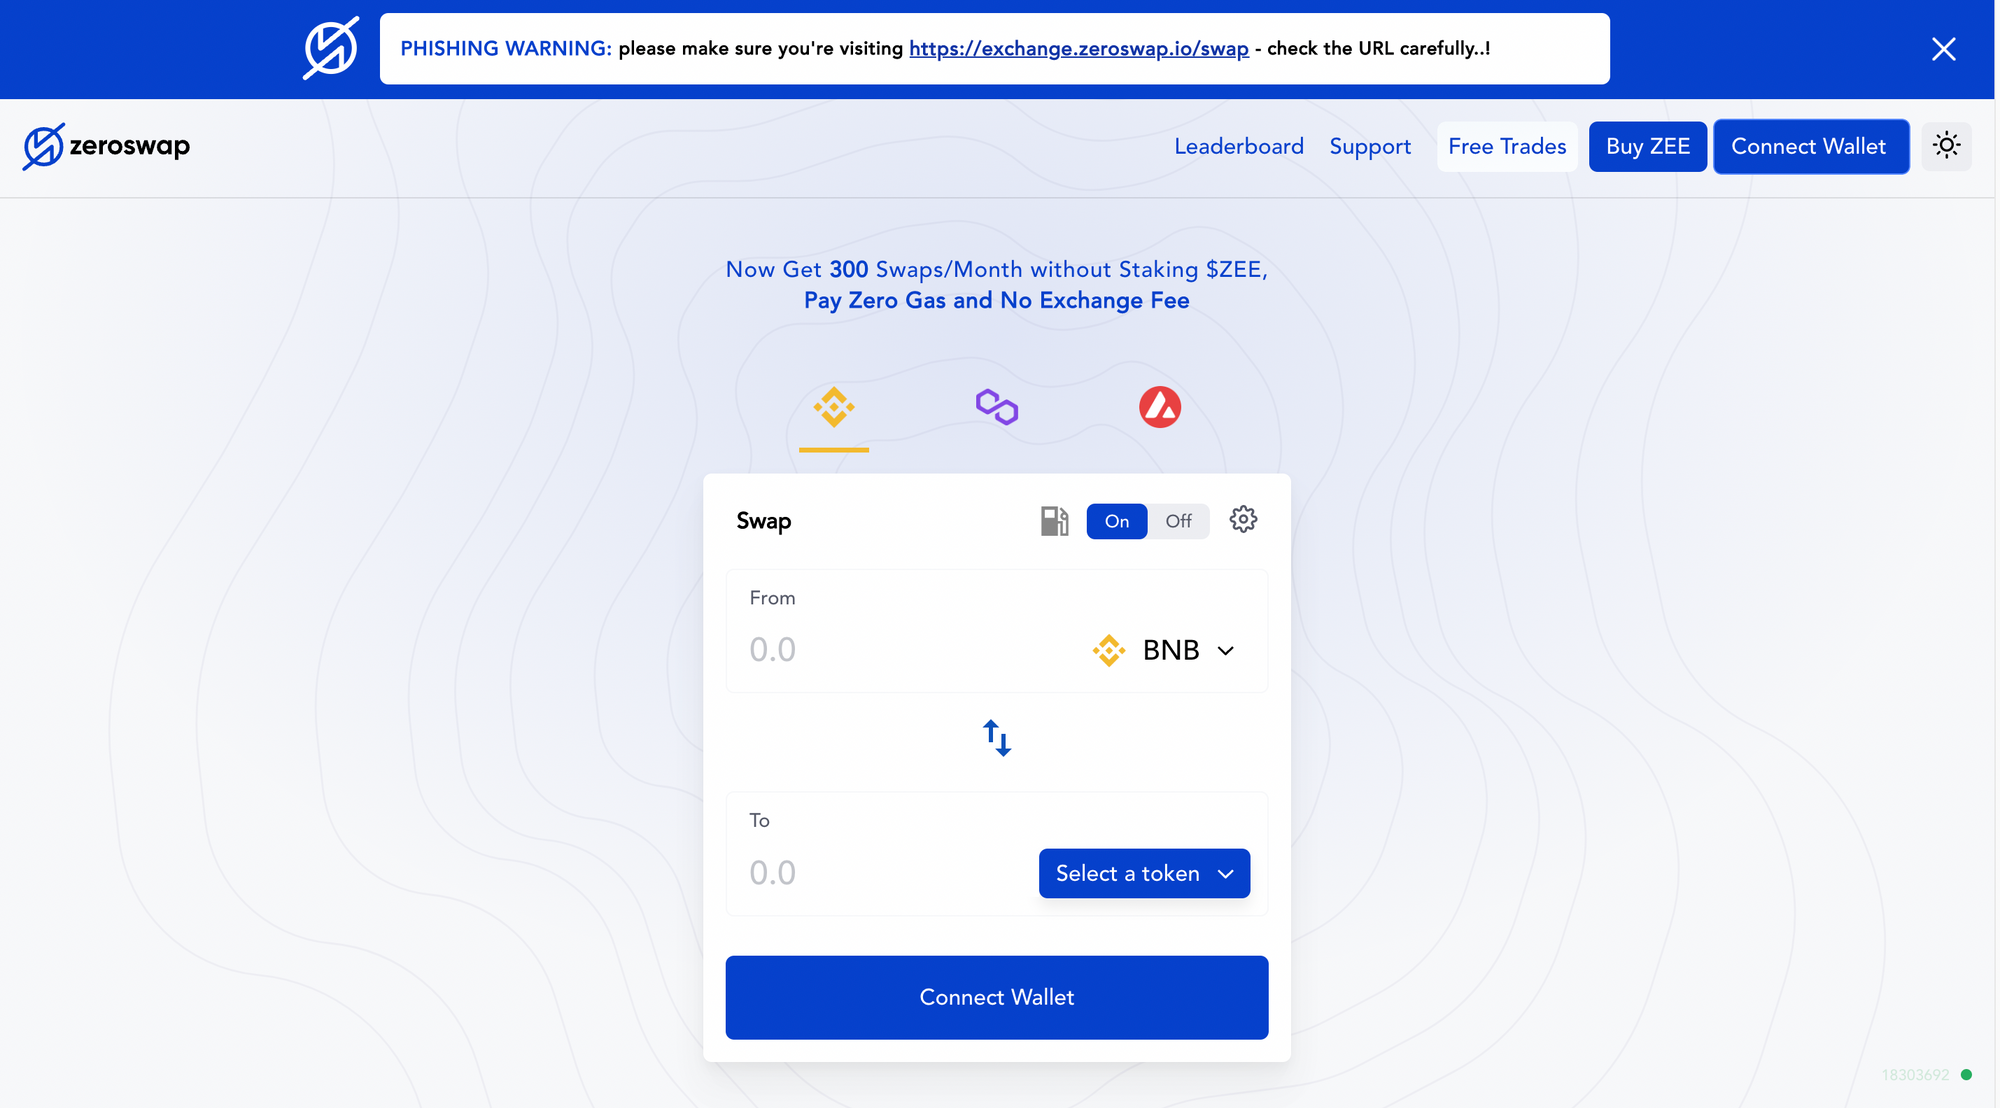
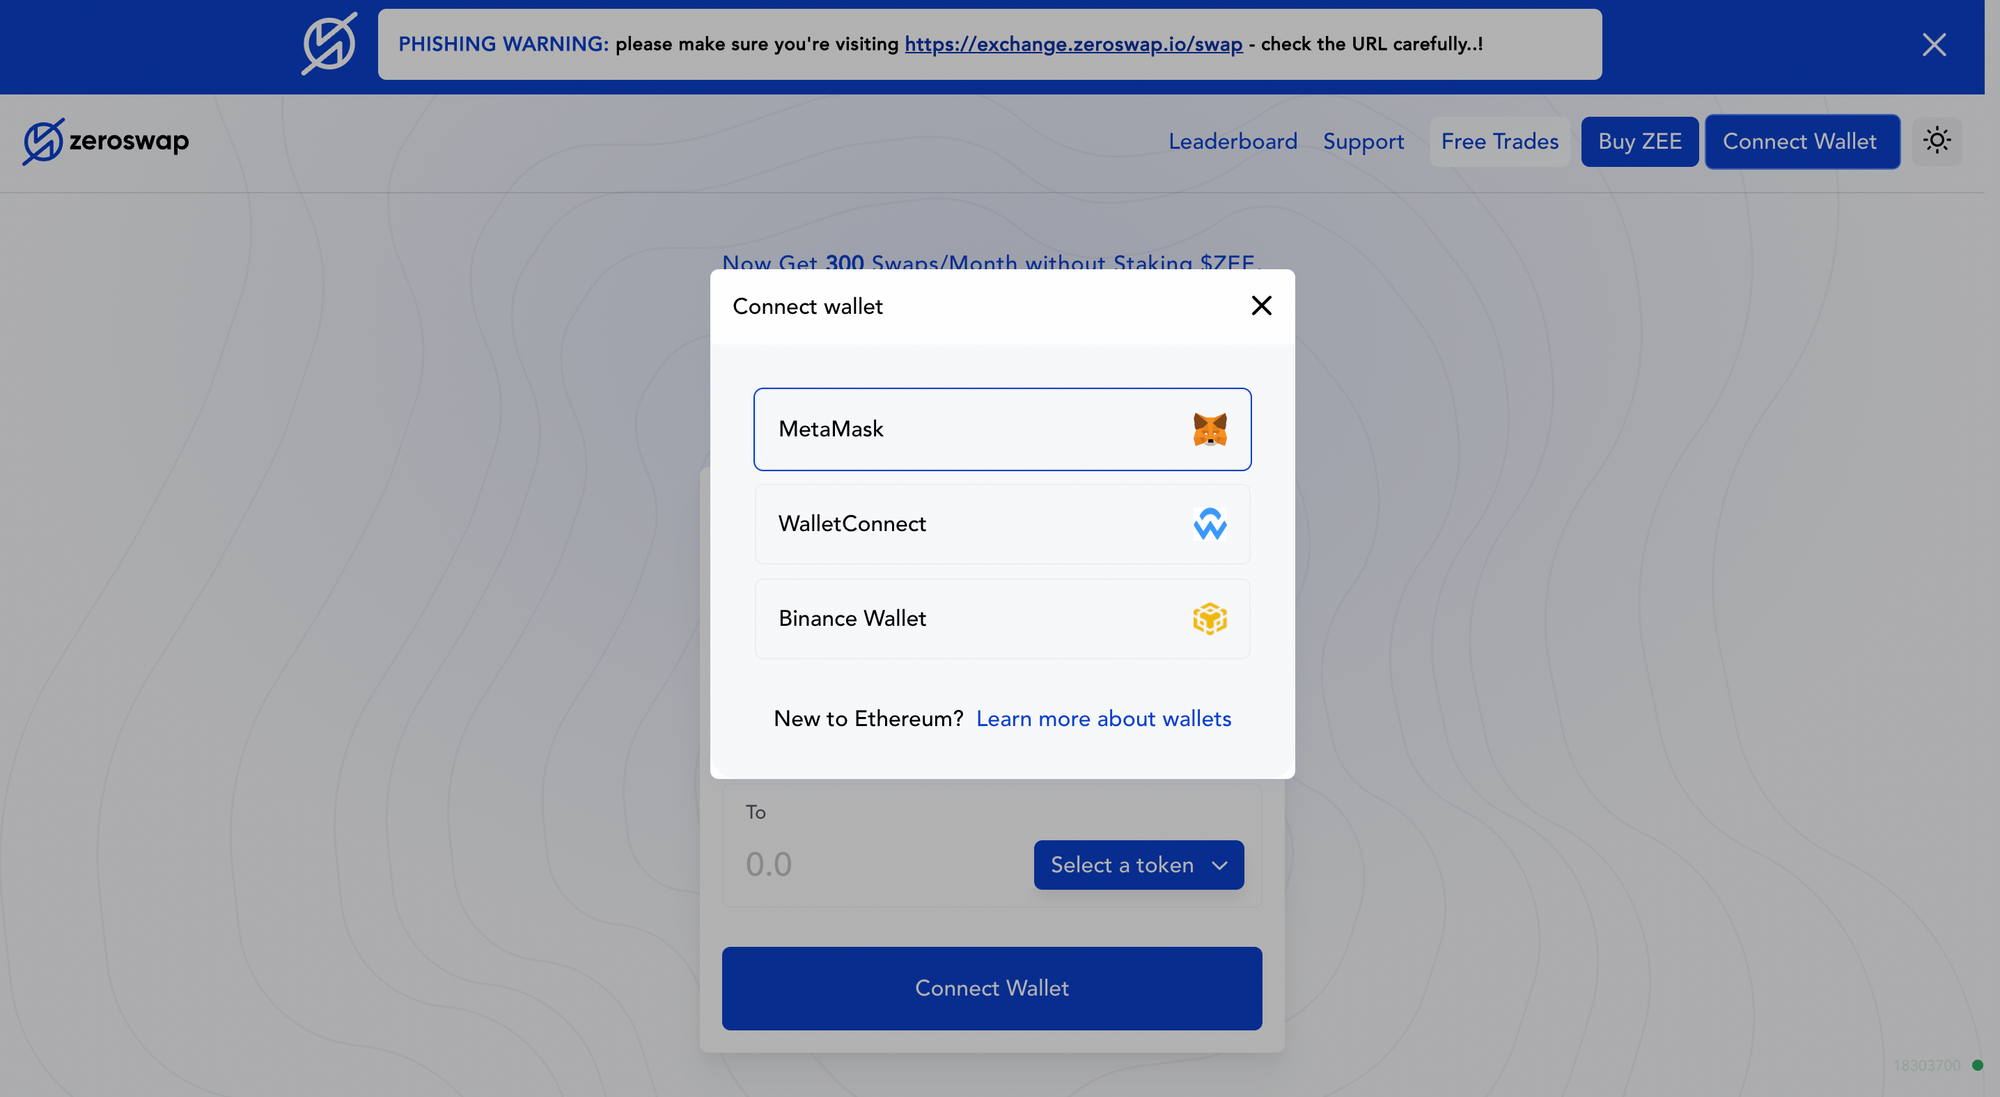
Step 2: Connect Your Wallet and grant permission to connect with your wallet. We’ll connect with MetaMask for this walkthrough.
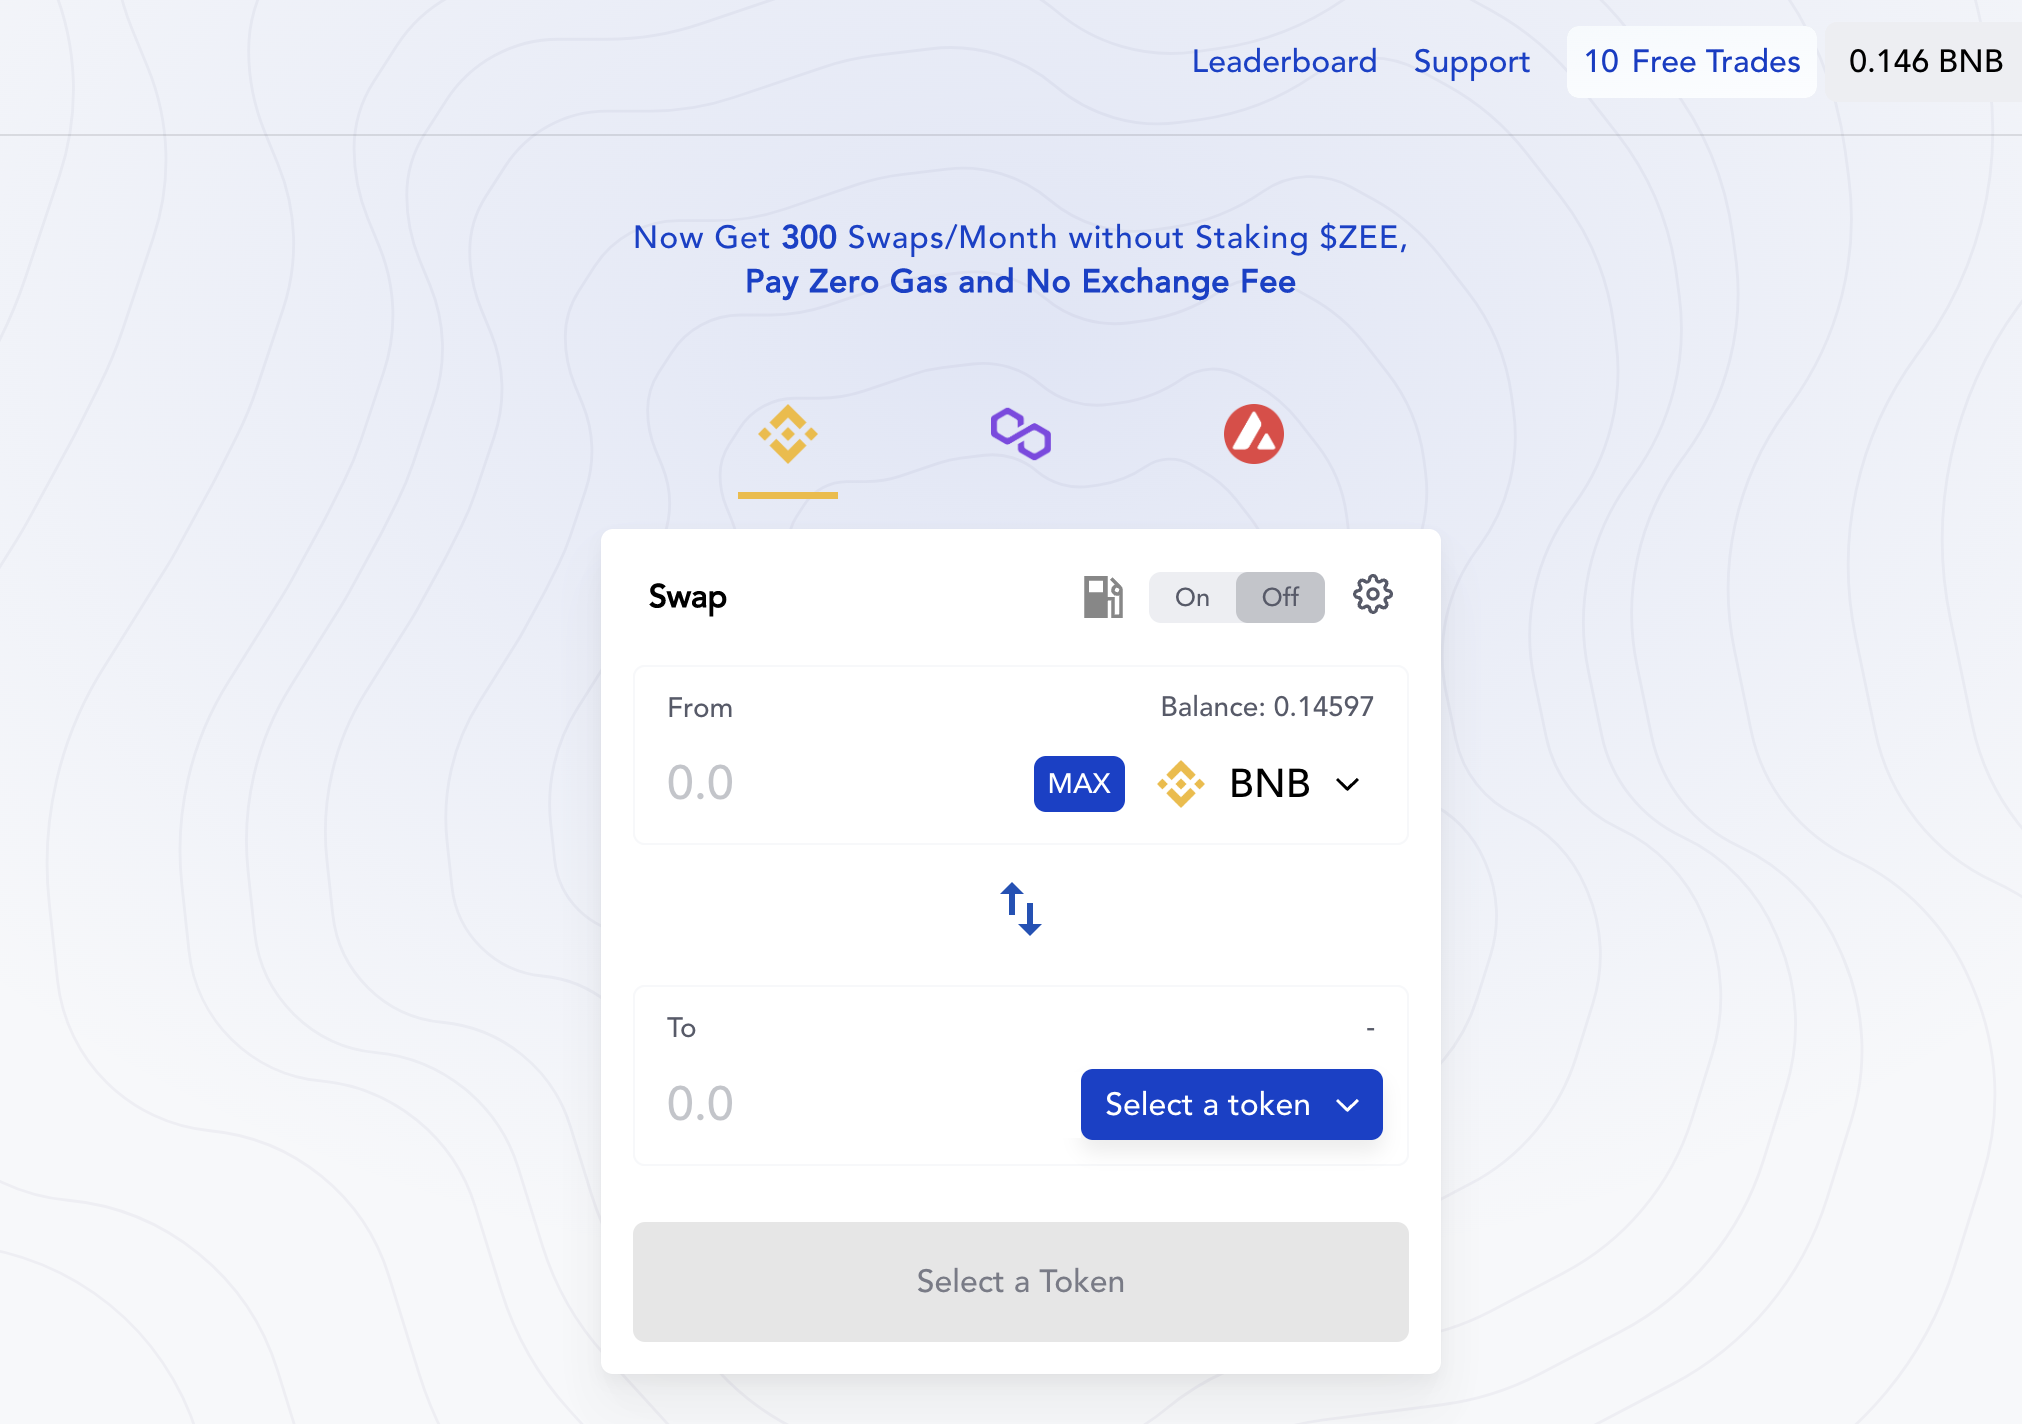
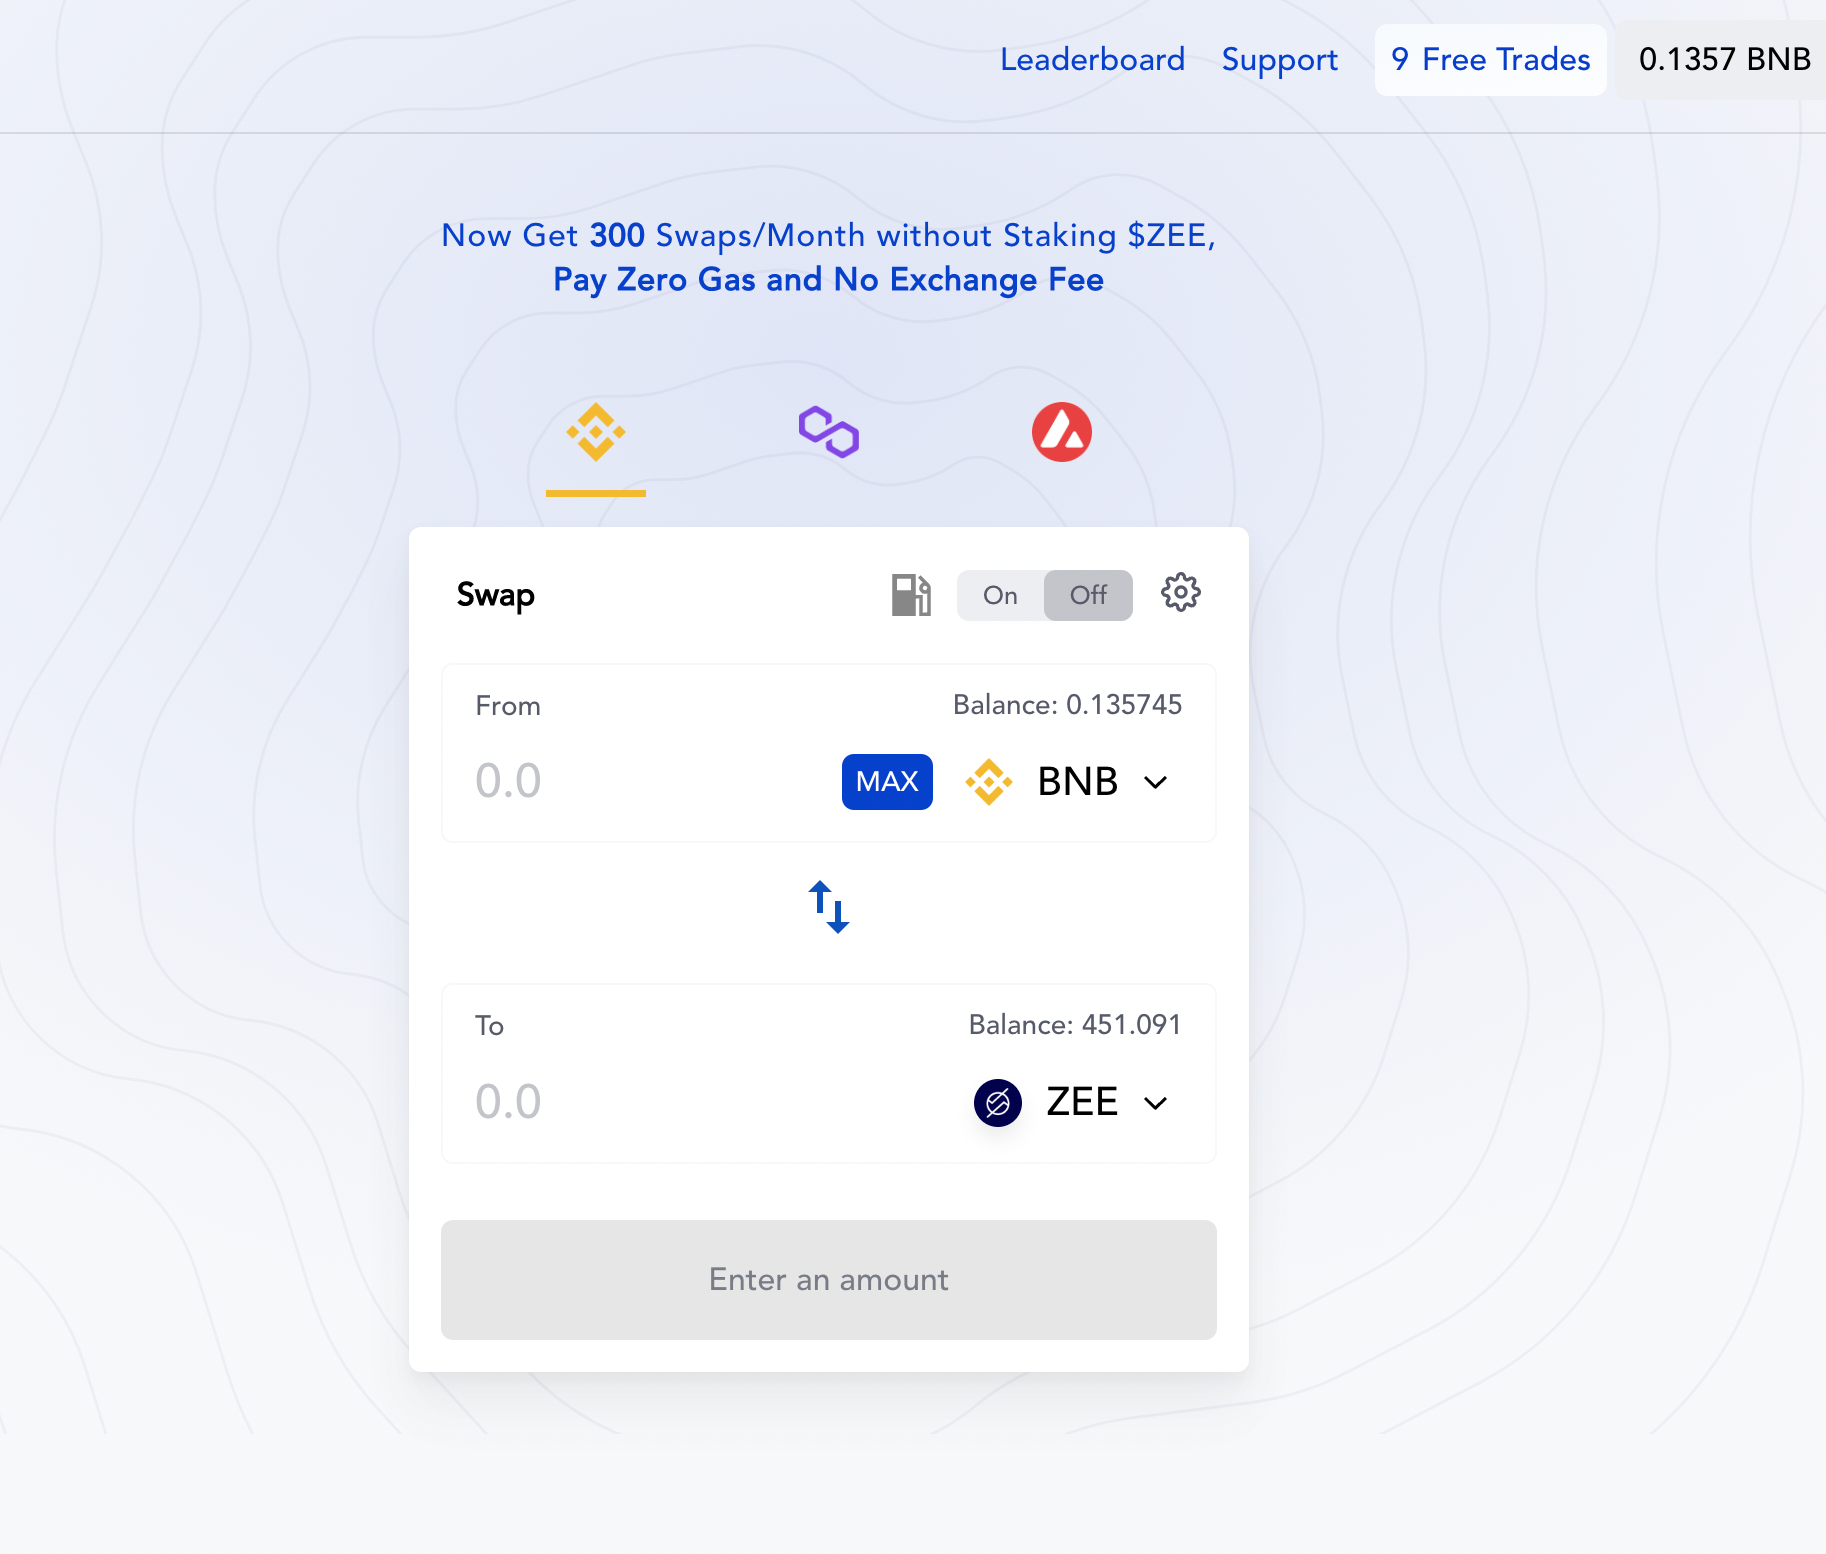
Step 3: Once the wallet is connected, you’ll see the interface with your available Free Trades and Detailed Breakdown about your $ZEE.
IMP: You can swap tokens in the DEX without staking $ZEE in the direct mode, but gasless swaps won’t be enabled. Swaps would be carried over by paying your own gas cost.
Choose the network you'd want to swap on. It will automatically change the network on your wallet, given, you've already added it in wallet.
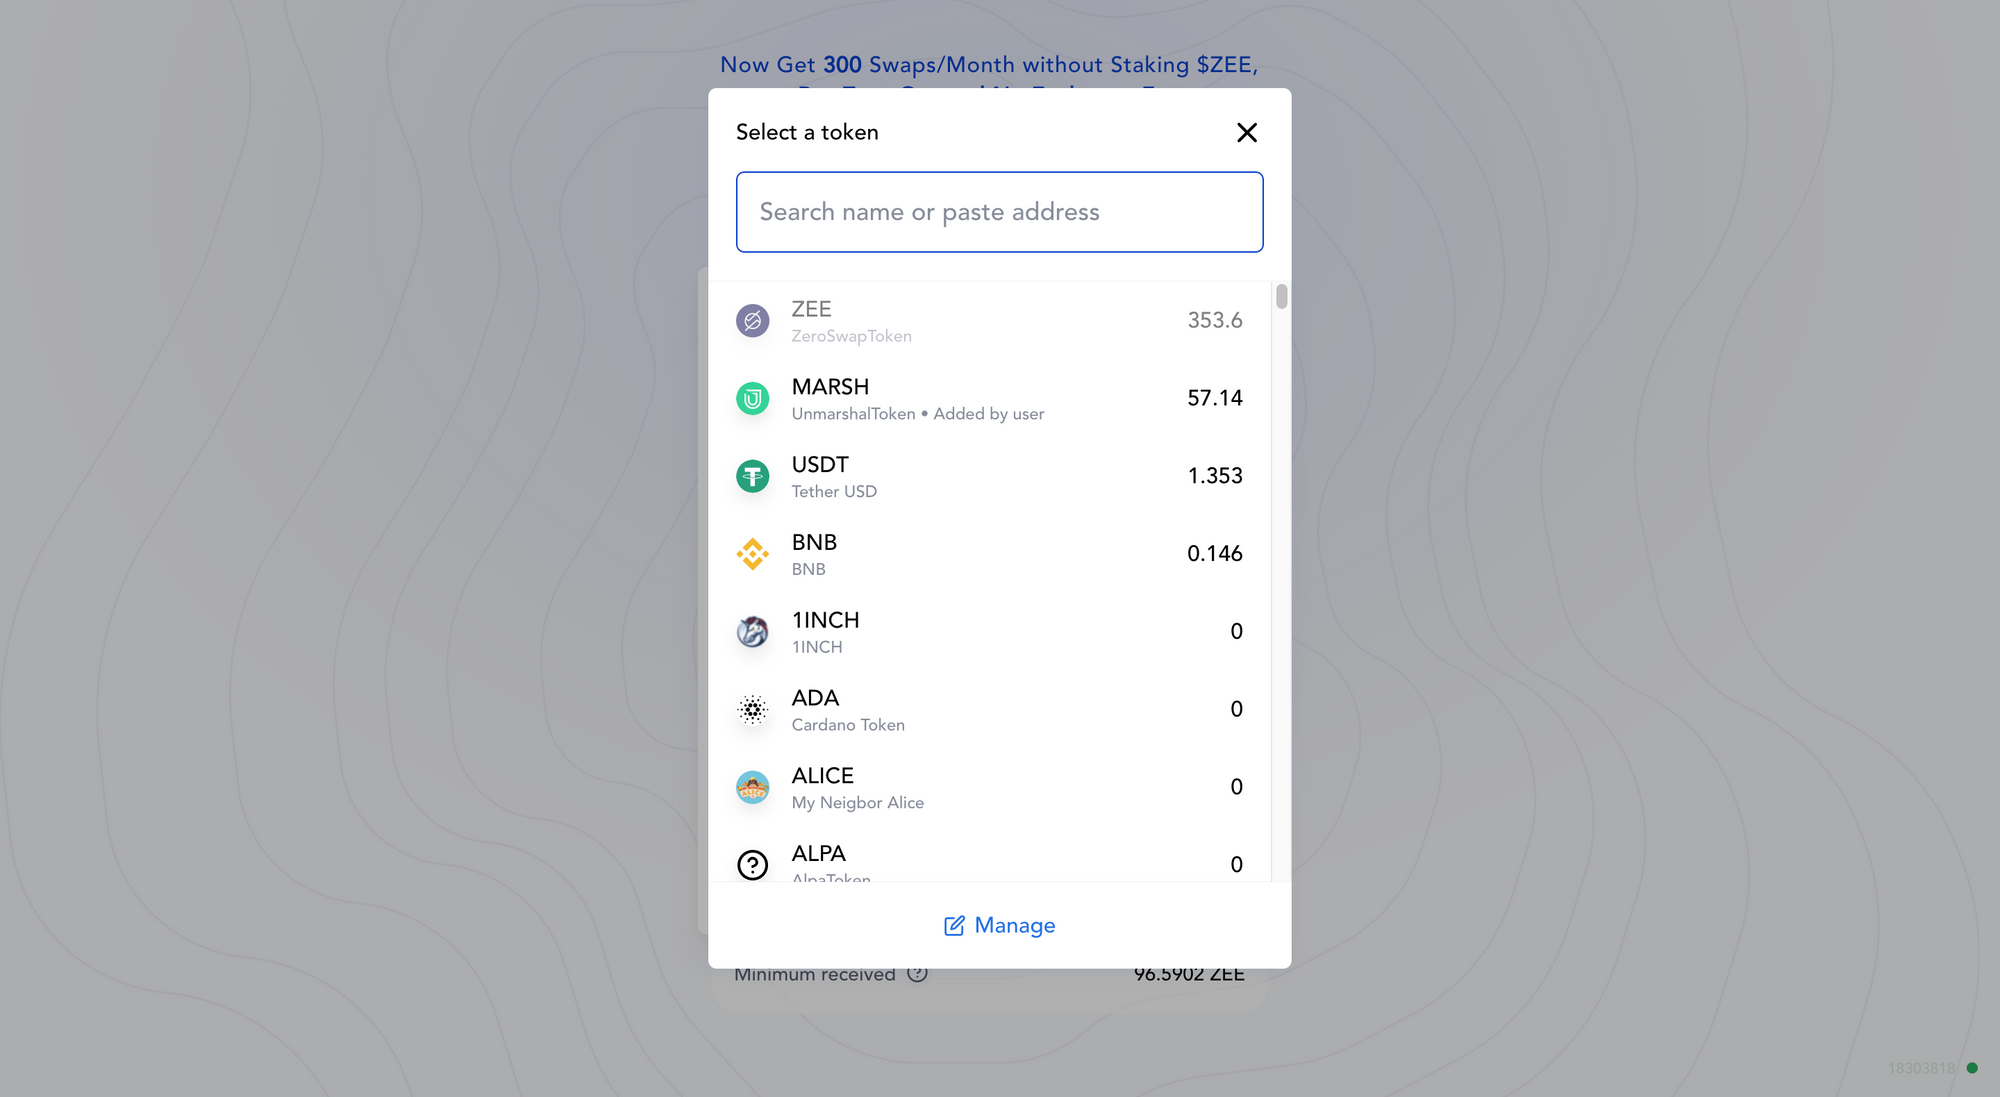
Step 4: Now, select the token pair you’d like to swap. You’ll automatically see the available balance in your wallet in the UI.
Step 5: Enter the amount and press the “Deposit” button (In case of Native token swap)
You can deposit as much BNB as you want in the transaction and then seamlessly swaps later.
NOTE: While swapping non-native tokens, you will Approve button (in case you are swapping the token pair for the first time)
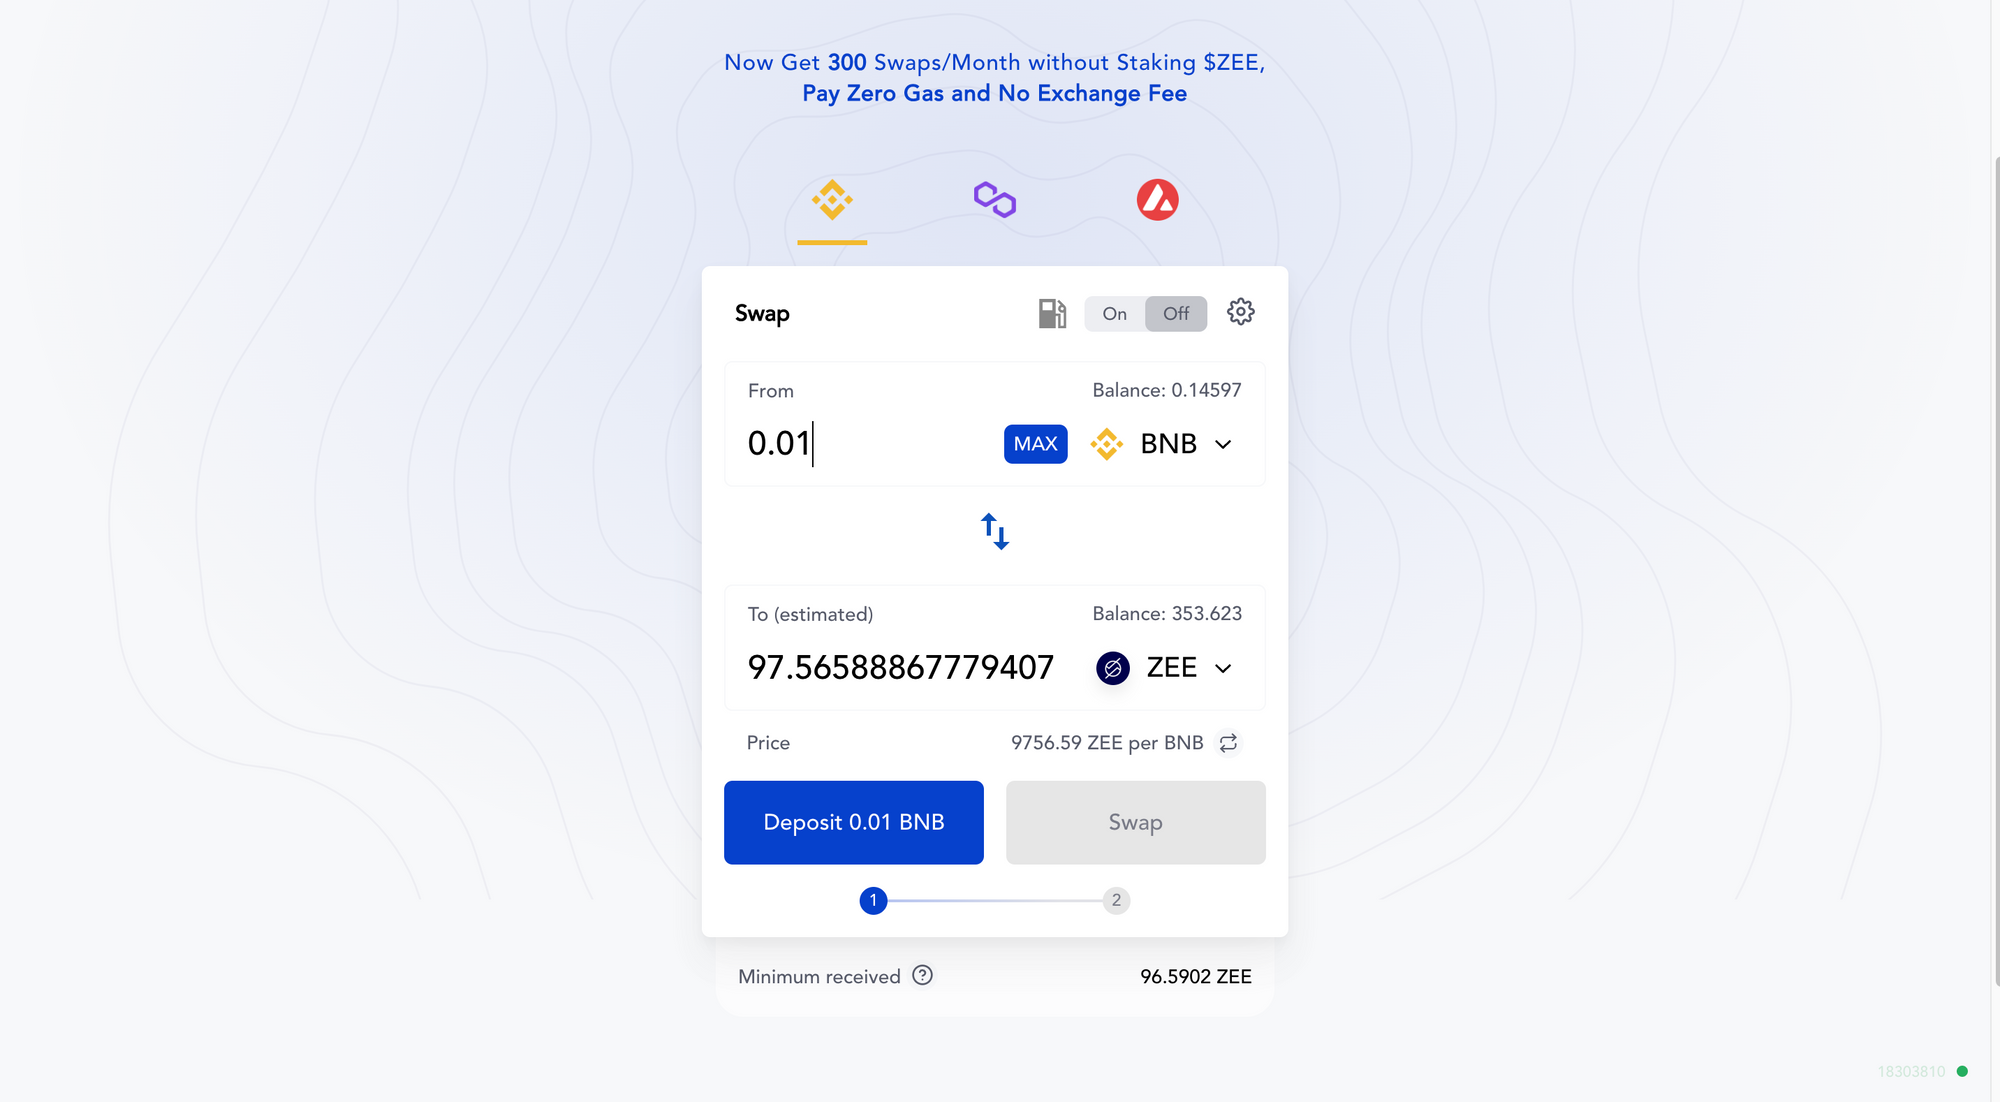
NOTE: If you are swapping a token pair from BNB, you’ll have to pay a nominal token-pair approval fee.
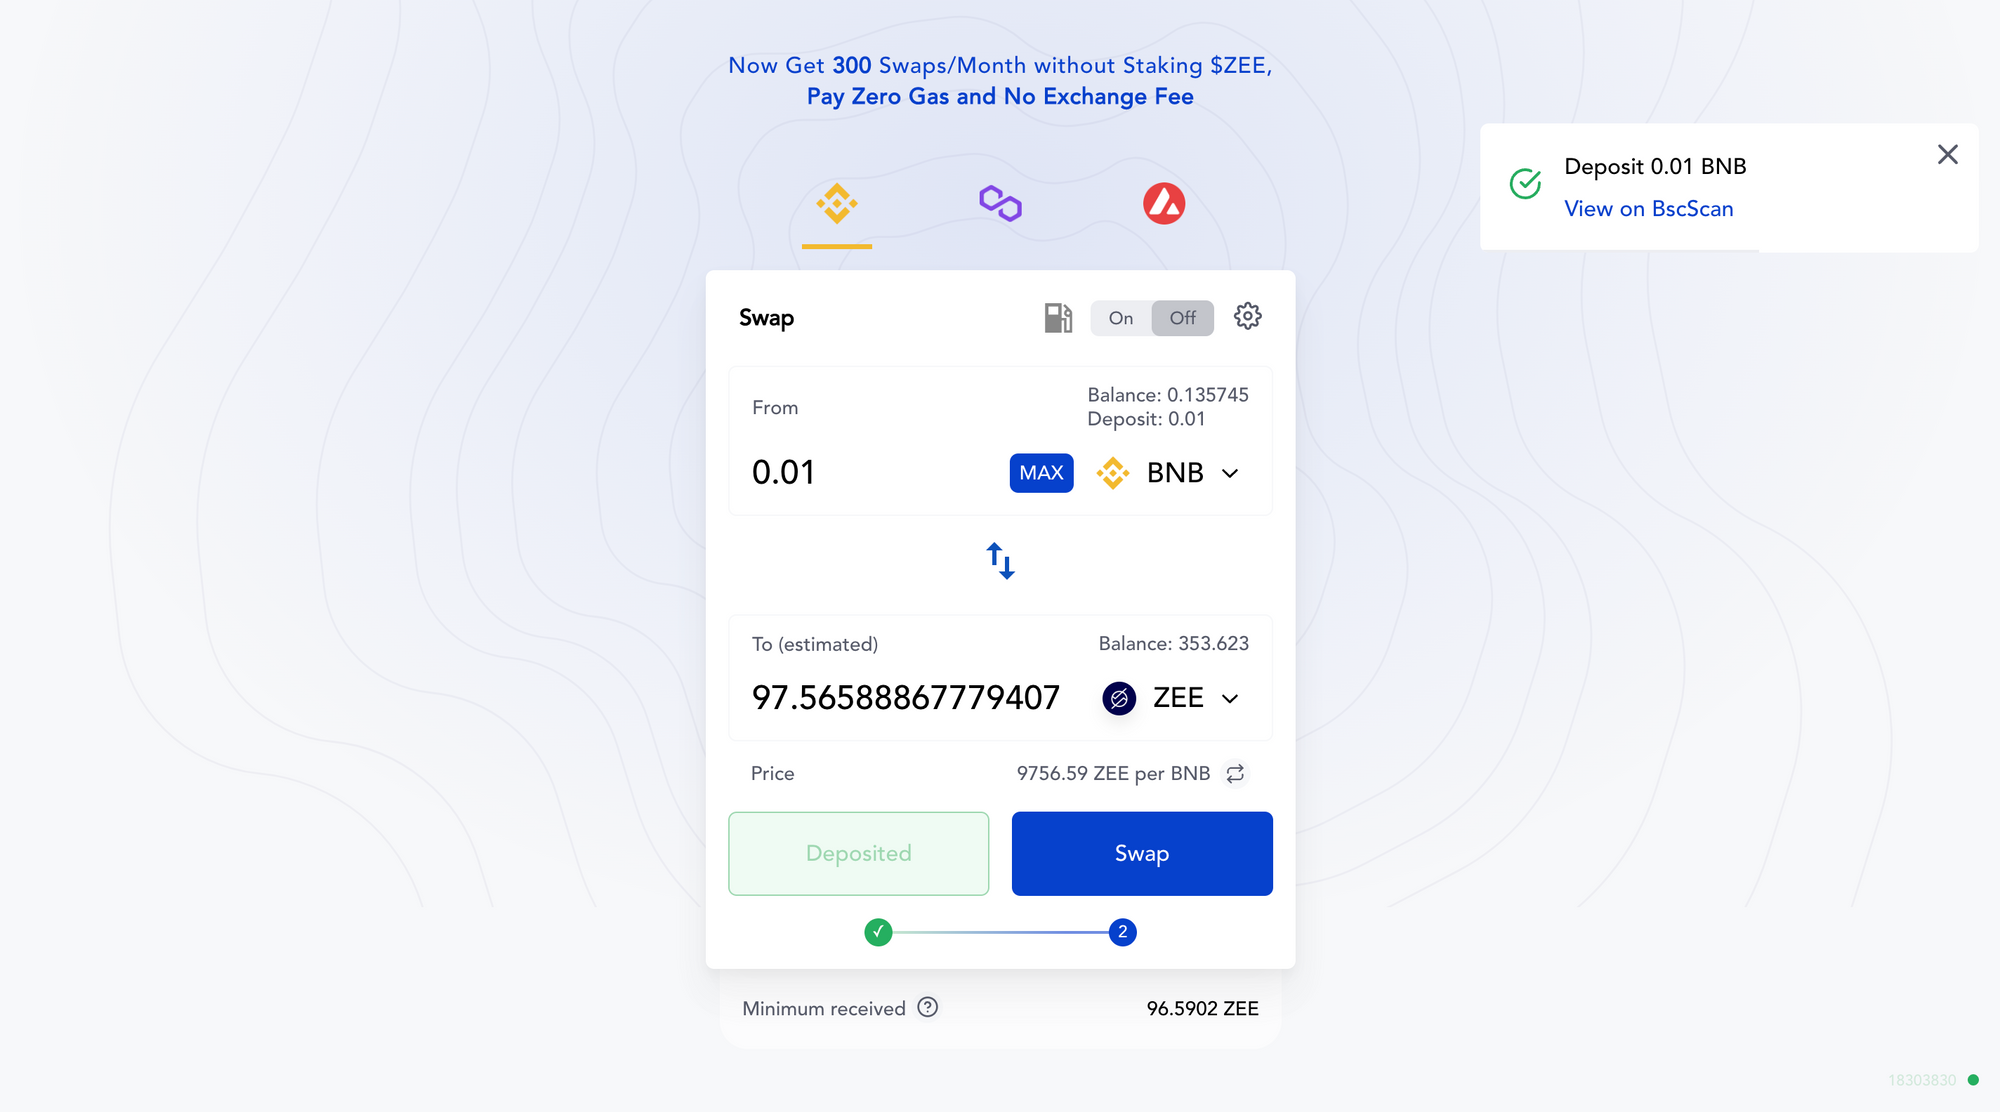
Step 6: Once you confirm the transaction, you’ll see the confirmation on your UI, and now the “Swap” button will be enabled. Once the BNB is deposited, you can swap whatever amount you wish to swap at a time.
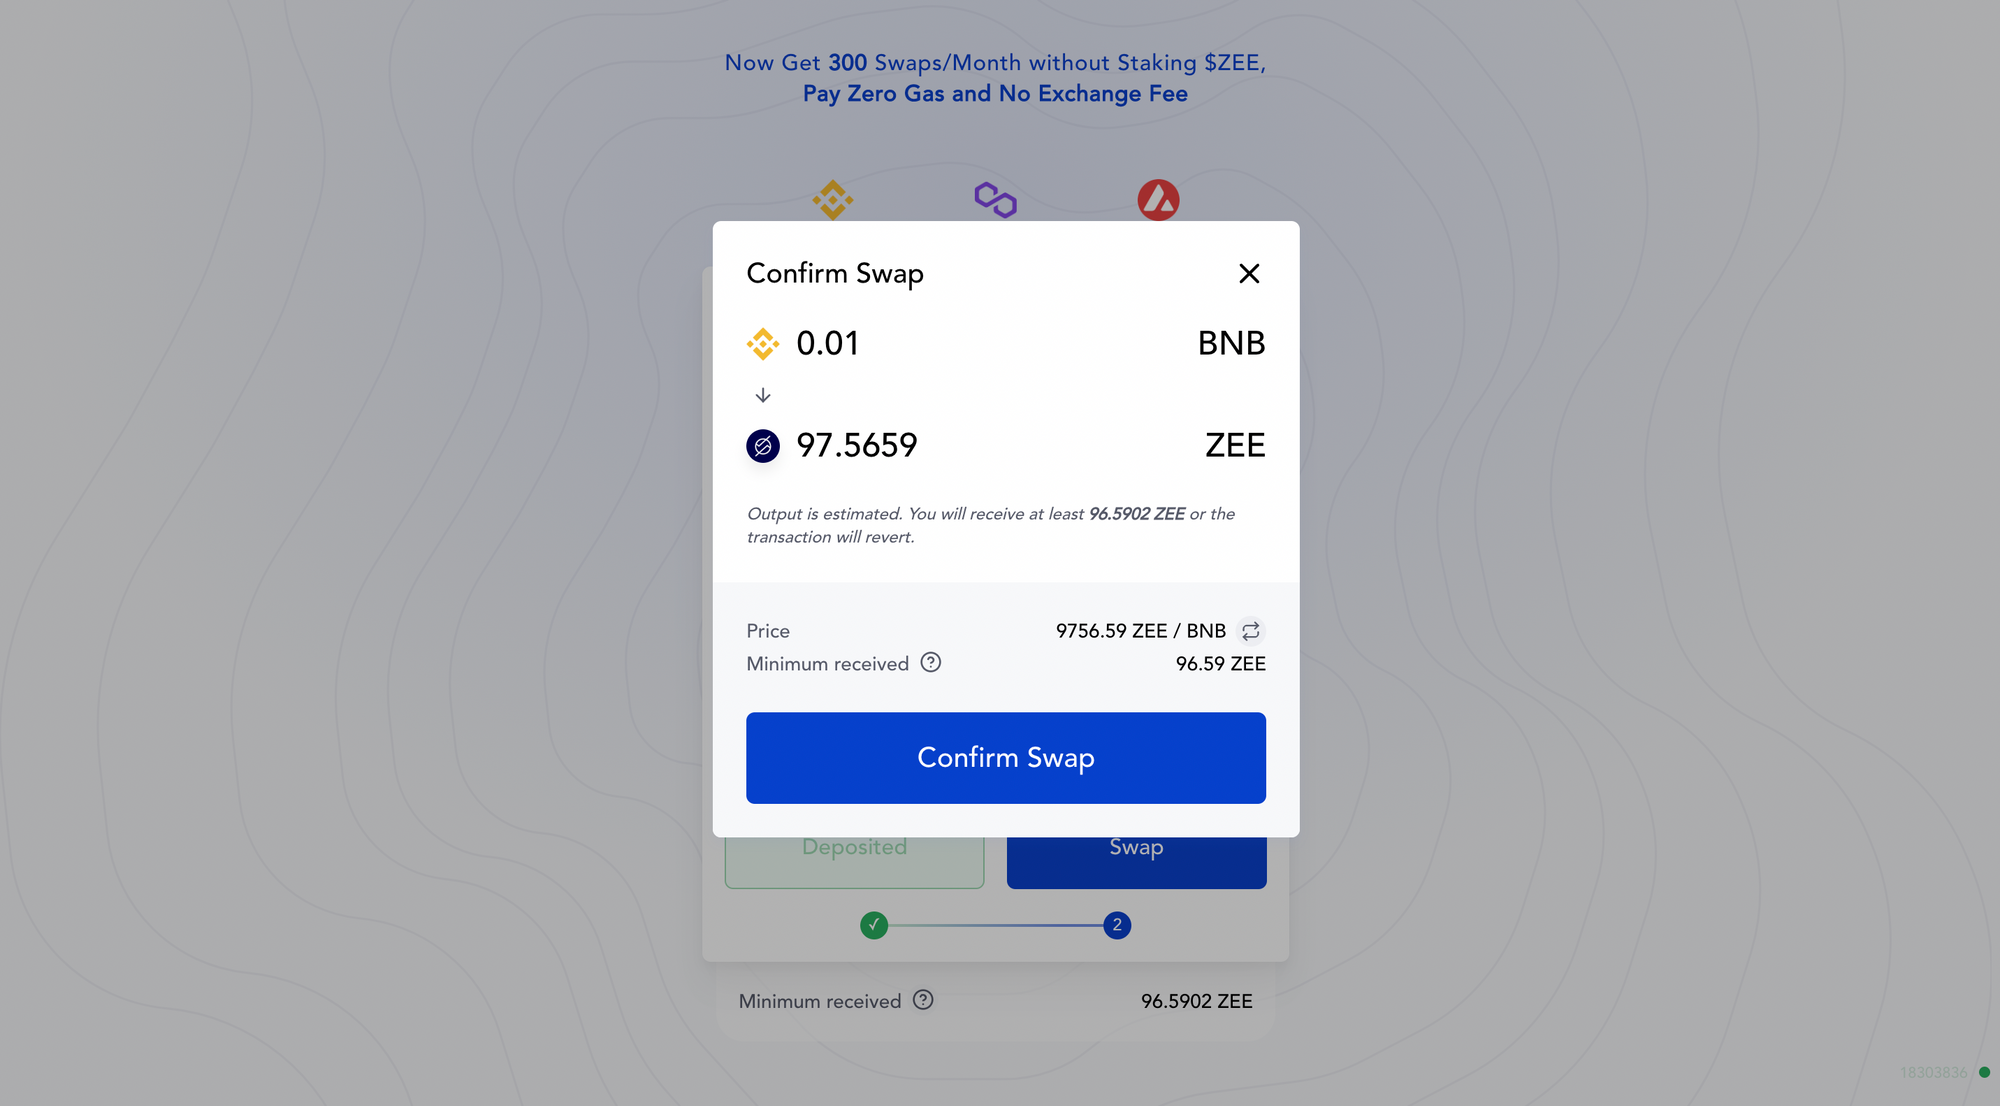
Step 7: Now, Click the “Swap” button. The following image will pop up. Click “Confirm Swap”
Step 8: You’ll see a pop-up to sign the transaction. Click “Sign”
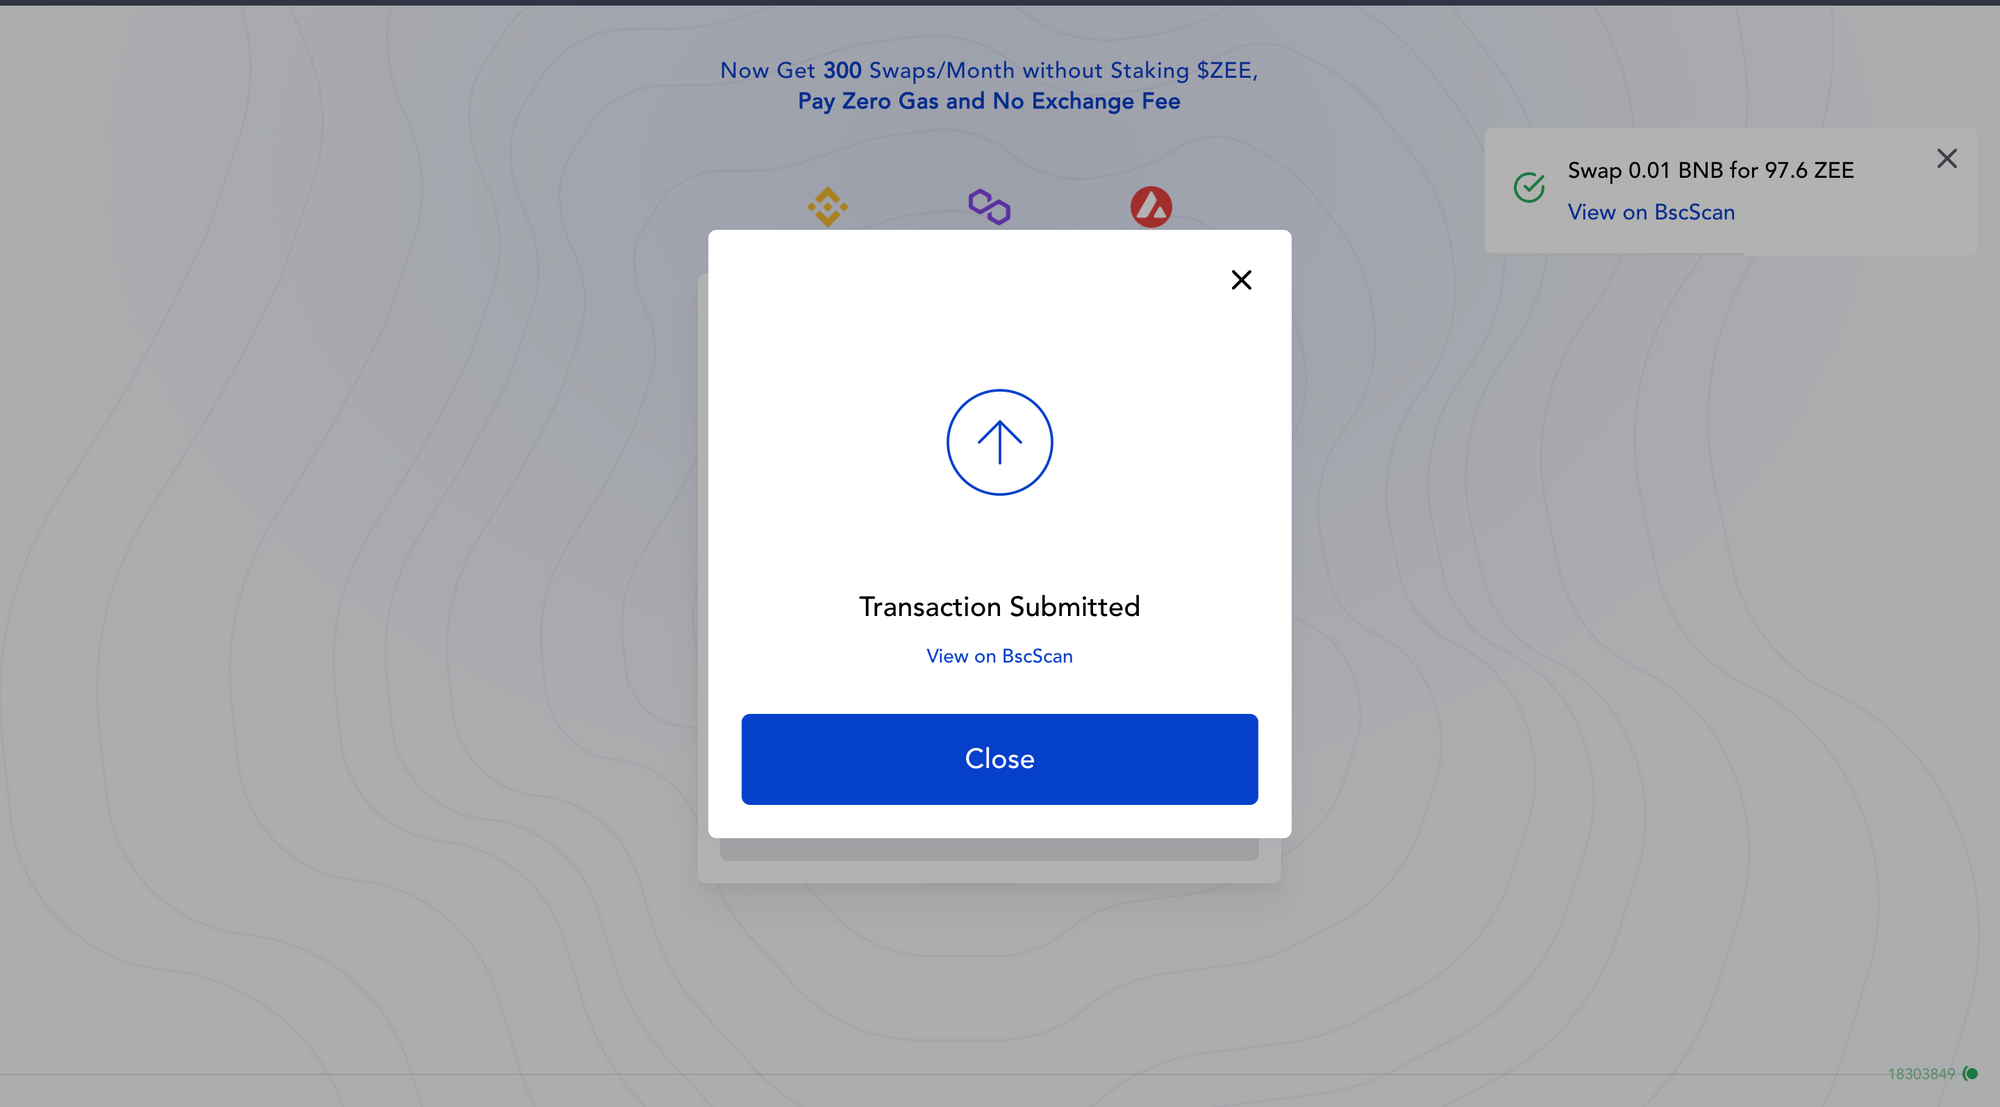
Step 9: You’ll see the following screen, and it’s done!
Step 10: You’ll see the updated breakdown in the UI and can confirm the same on your wallet.
If you face any issue and need assistance for the same, contact our Support Team directly on the Support Portal.
DEX Audit Report
You can access the audit report here.


